- In the Manage administrative menu, navigate to Appearance (admin/appearance).
-
Under Installed themes, you will find Olivero listed as your default theme. Under Olivero (default theme), click Settings.
Image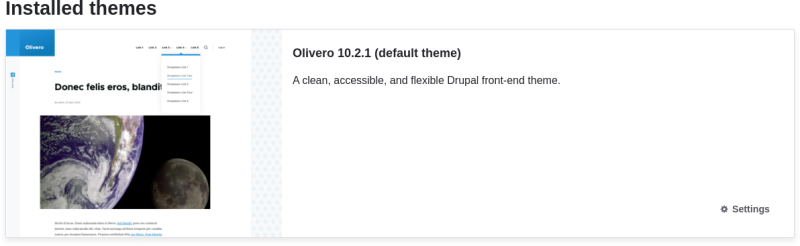
-
Under Logo image, uncheck Use the logo supplied by the theme.
Image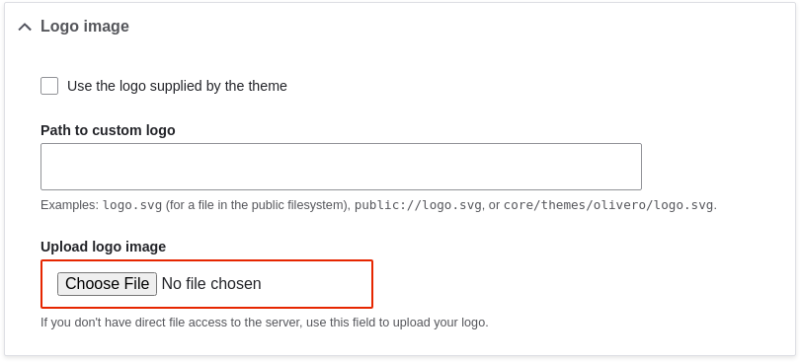
-
Under Upload logo image, locate a logo file and upload it to your site. Note: You can also set a universal logo for all themes under Appearance > Settings (admin/appearance/settings). A custom logo for your theme will override the universal logo.
Once you have selected the file you would like to upload, you will see its filename next to the Choose File or Browse button in your browser.
- Under Olivero Utilities, you can choose to use a different color scheme for the theme. You can choose from a list of existing color scheme’s, or enter a color and the core software will generate a new scheme based on that color.
For example, use the following custom color:
+
| Field | Color |
|---|---|
|
Primary base color |
#7db84a (green) |
+ Note: You can also use a color picker by pressing the colored square on the right to select a color of your choice. The web color codes will be added for you.
- In order to save your changes and see the updated colors and logo on your site, click Save configuration at the bottom of the page.
-
Click Return to site or Home in the toolbar to verify that you have updated the core Olivero theme settings for your website.
Image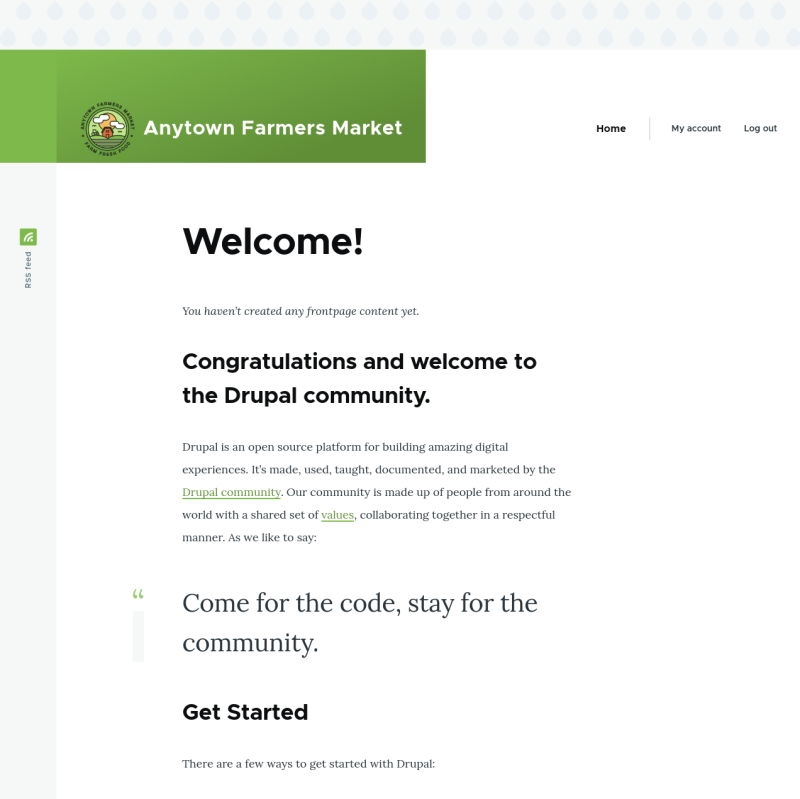
- Section 11.4, “Finding Themes”
- Section 11.5, “Downloading and Installing a Theme from Drupal.org”
- If you do not see the effect of these changes in your site, you might need to clear the cache. See Section 12.2, “Clearing the Cache”.
