- A contributed module has been installed and there is an update available for it. See Section 11.3, “Downloading and Installing a Module from Drupal.org” and Section 13.4, “Keeping Track of Updates”.
- If your site is live, you should test this process in a development environment before running it on your production site. See Section 11.8, “Making a Development Site”.
- You have created a full-site backup. See Section 12.3, “Concept: Data Backups”.
- If you want to use the user interface to check for updates, the core Update Manager module must be installed. See Section 4.3, “Installing a Module” for instructions on installing core modules.
Before you start, check for module-specific update instructions. Read and understand all module-specific requirements before proceeding with the updates. To find instructions, check the module’s project page Read Documentation link.
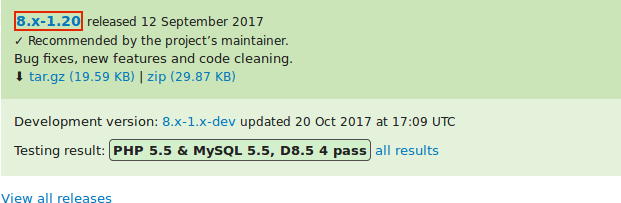
To view further instructions, after downloading the updated files, look for README.txt, INSTALL.txt, and UPGRADE.txt that come with the module. Also, review the release notes on the project page by clicking the version number you’re downloading.
Updating a module requires first putting your site into maintenance mode, then obtaining the new code files and applying any required database updates, then finally taking the site out of maintenance mode.
You can update the code for a contributed module using Composer. If you are updating a custom module rather than a contributed module, obtain the new module files, then continue with instructions for running the database updates via the administrative interface below.
This assumes that you are using Composer to manage the files in your site; see Section 3.6, “Using Composer to Download and Update Files”.
- Put your site in maintenance mode. See Section 11.2, “Enabling and Disabling Maintenance Mode”.
- In the Manage administrative menu, navigate to Reports > Available updates > Update (admin/reports/updates).
-
Find and check the module in the list. Click Download these updates for the module.
Image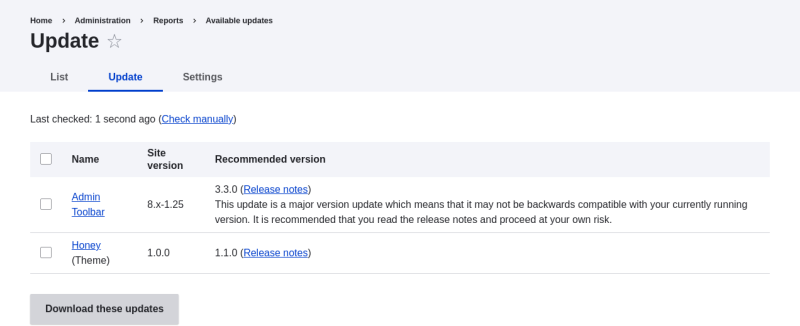
- Determine the short name of the project you want to update. For contributed modules and themes, it is the last part of the URL of the project page; for example, the Geofield module, at https://www.drupal.org/project/geofield, has short name
geofield. -
If you want to update to the latest stable release, use the following command, substituting the short name of the project to be updated for
geofield:composer update drupal/geofield --with-dependencies
+ To learn how to download specific versions see Section 3.6, “Using Composer to Download and Update Files”.
- After obtaining the new module files run any database updates page by typing the URL example.com/update.php in your browser.
- Click Continue to run the updates. The database update scripts will be executed.
- Click Administration pages to return to the administration section of your site.
- Take your site out of maintenance mode. See Section 11.2, “Enabling and Disabling Maintenance Mode”.
- Clear the Drupal cache (refer to Section 12.2, “Clearing the Cache”).
- Review the site log (refer to Section 12.4, “Concept: Log”) once the updates are complete to check for errors.
- Section 13.7, “Updating a Theme”
